Day 2 Online Training

Begin Day 2 Training

Press start to begin the slideshow. Narration will play automatically, and the Next button will unlock after the required narration is complete.

L
Launch Attraction Monitor TrainingDay 2 · Standards, Readiness, and Injury Response
1 / 15
When Prevention Is Not Enough
Day 1 focused on preventing unsafe situations. Day 2 focuses on what happens when an incident still occurs—and how your response protects everyone around it.
You may not be able to prevent every injury—but your response can prevent the situation from becoming worse.
1

Stay Calm

Panic creates confusion. A controlled response begins with the monitor remaining composed.

2

Protect the Area

Stop nearby activity and prevent the incident from becoming a second injury.

3

Get the Right Help

Notify a Supervisor or Manager and follow the correct response procedure.

Our Vision To Create Awesome Memories
Every decision we make—from enforcing a rule to helping an injured guest—should support this vision. Our Core Values guide how we protect guests, support one another, and represent Launch.
Our Core Values
Commitment
Safety
Transparency
Fulfillment
Teamwork
Development
Growth
Our values guide how we protect guests, support one another, and create memorable experiences.
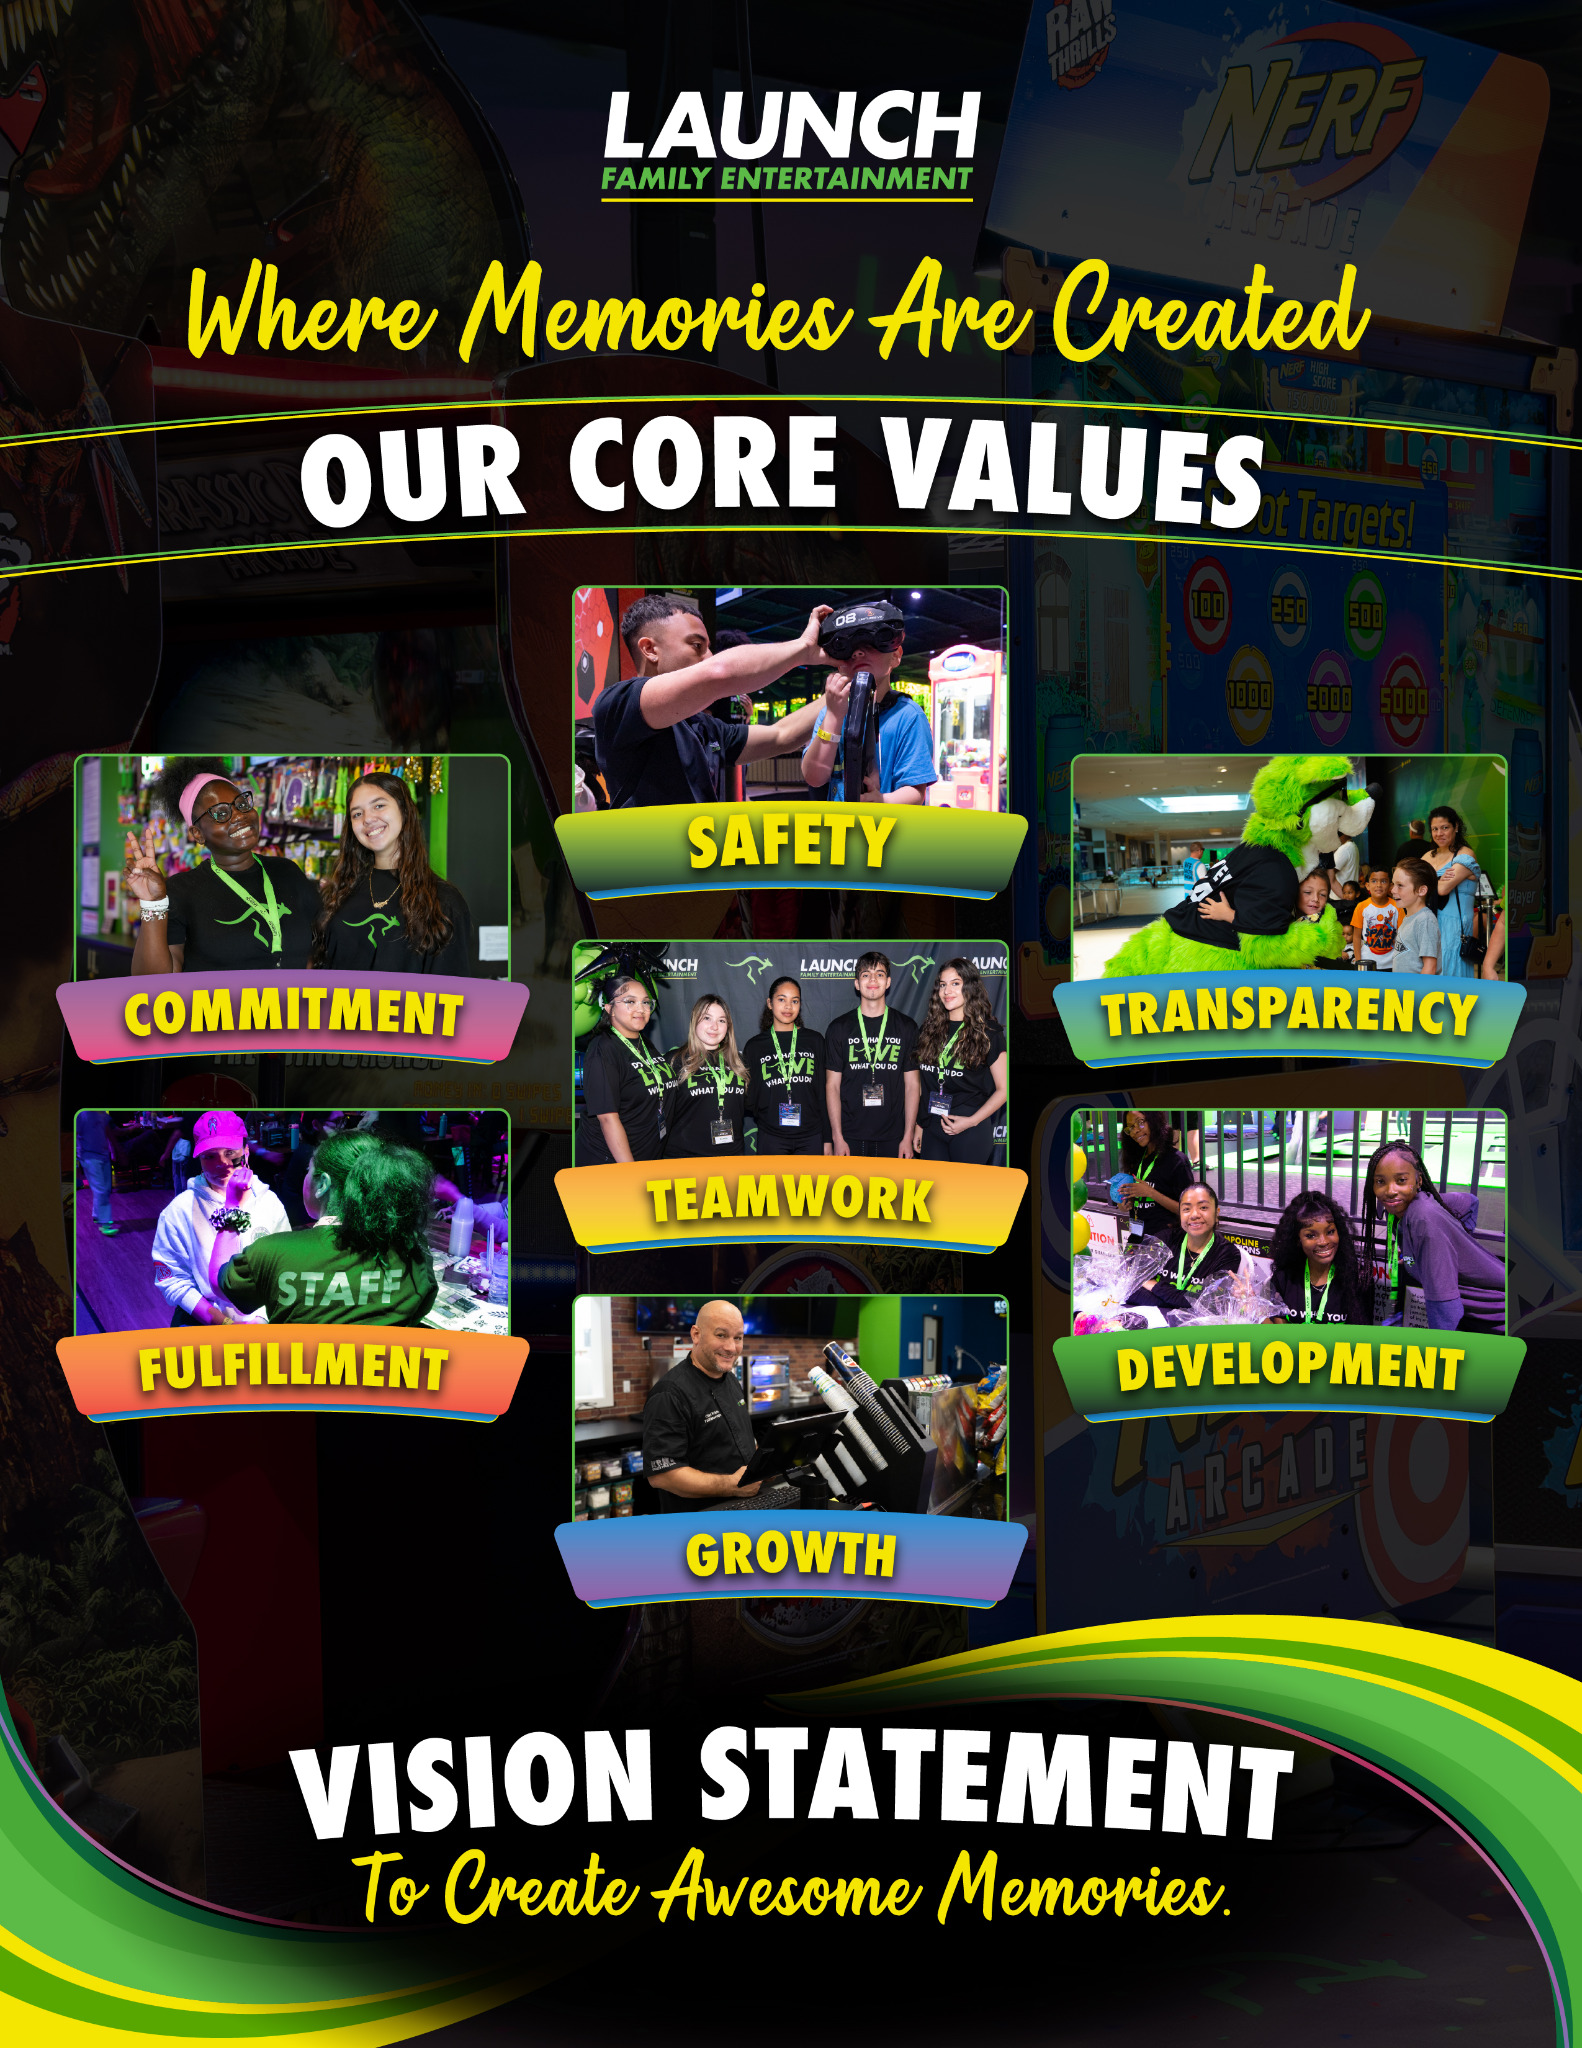
Launch Family Entertainment Core Values and Vision poster
Audio will be added separately · Cards are animated for visual testing
Core Values In Action
Launch values are not just words on a poster. Attraction Monitors show them through the decisions they make during every shift—especially when a situation requires professional judgment.
Scenario 1

Stop and Report

You notice damaged padding or unsafe equipment. Stop participation, secure the area, and notify leadership immediately.

SafetyTransparencyCommitment
Scenario 2

Support the Team

Another monitor requests help or coverage. Communicate clearly, coordinate coverage, and assist without abandoning your own responsibility.

TeamworkCommitment
Scenario 3

Create a Positive Experience

A guest is nervous or unfamiliar with an attraction. Explain the rules, encourage the guest, and enforce standards professionally.

FulfillmentSafety
Scenario 4

Learn and Improve

A trainer or manager gives you corrective feedback. Listen, ask questions, and apply the coaching during the remainder of the shift.

DevelopmentGrowthTransparency
Our values are demonstrated by what we do—especially when the right decision is not the easiest one.
Audio will be added separately · Callouts are animated for visual testing
Dress Ready. Work Ready.
Guests should be able to identify Launch team members immediately. Attraction Monitors must report to position in the approved uniform with the required communication equipment and a properly stocked first aid bag.
Launch Shirt
Name Tag
Whistle
Walkie-Talkie
First Aid Bag
Black Athletic Pants
Launch Socks
Arrive in full uniform, with the required equipment, and ready to be identified as a Launch professional.
Ready Before You Step On
Before taking position, every Attraction Monitor must confirm they are equipped, assigned, and ready to respond.
First Aid Bag: Worn while actively monitoring and stocked before taking position.
Pre-shift readiness checkReady to Monitor?

Radio Ready

Working, charged, and on the correct channel before you take position.

Whistle Ready

On your person and available when immediate correction is needed.

First Aid Bag Ready

Worn while monitoring and stocked with required supplies.

Assignment Confirmed

Know your attraction, zone, nearby coverage, and rotation expectations.

Attraction Checked

Look for obvious hazards, blocked access, trash, or damaged equipment.

Leadership Support Known

Know who to contact for injuries, guest issues, or unsafe conditions.

Required First Aid Bag Supplies
Gauze Assorted band-aids Medical tape 4 RTU ice packs Flashlight 4 pairs medical gloves in Ziplock bag
Do not take position until your equipment, assignment, and First Aid bag are ready.
Keep the Area Guest Ready
Cleanliness is not separate from safety. Trash, spills, loose items, blocked access, and damaged padding can create hazards and make the attraction look poorly managed.
Scan. Correct. Call for help. Never lose coverage to clean.
Keep the area clean and guest-ready — but never lose supervision of your zone.
Safety Response
Unsafe Conditions
When It’s Unsafe, Stop the Attraction
Unsafe equipment, padding, or access? Stop use and get leadership.
!
Damaged paddingClose immediately.
!
Broken equipmentClose immediately.
Open
Normal UseSafe + supervised.
Warning
Check NowSomething looks wrong.
Closed
Stop UseKeep guests out.
Step 1
Stop UseStop jumping or play immediately.
Step 2
Guard AreaKeep guests away.
Step 3
Call LeadershipGet a Supervisor or Manager.
Not sure? Close it. Reopen only when cleared.
Injury Response
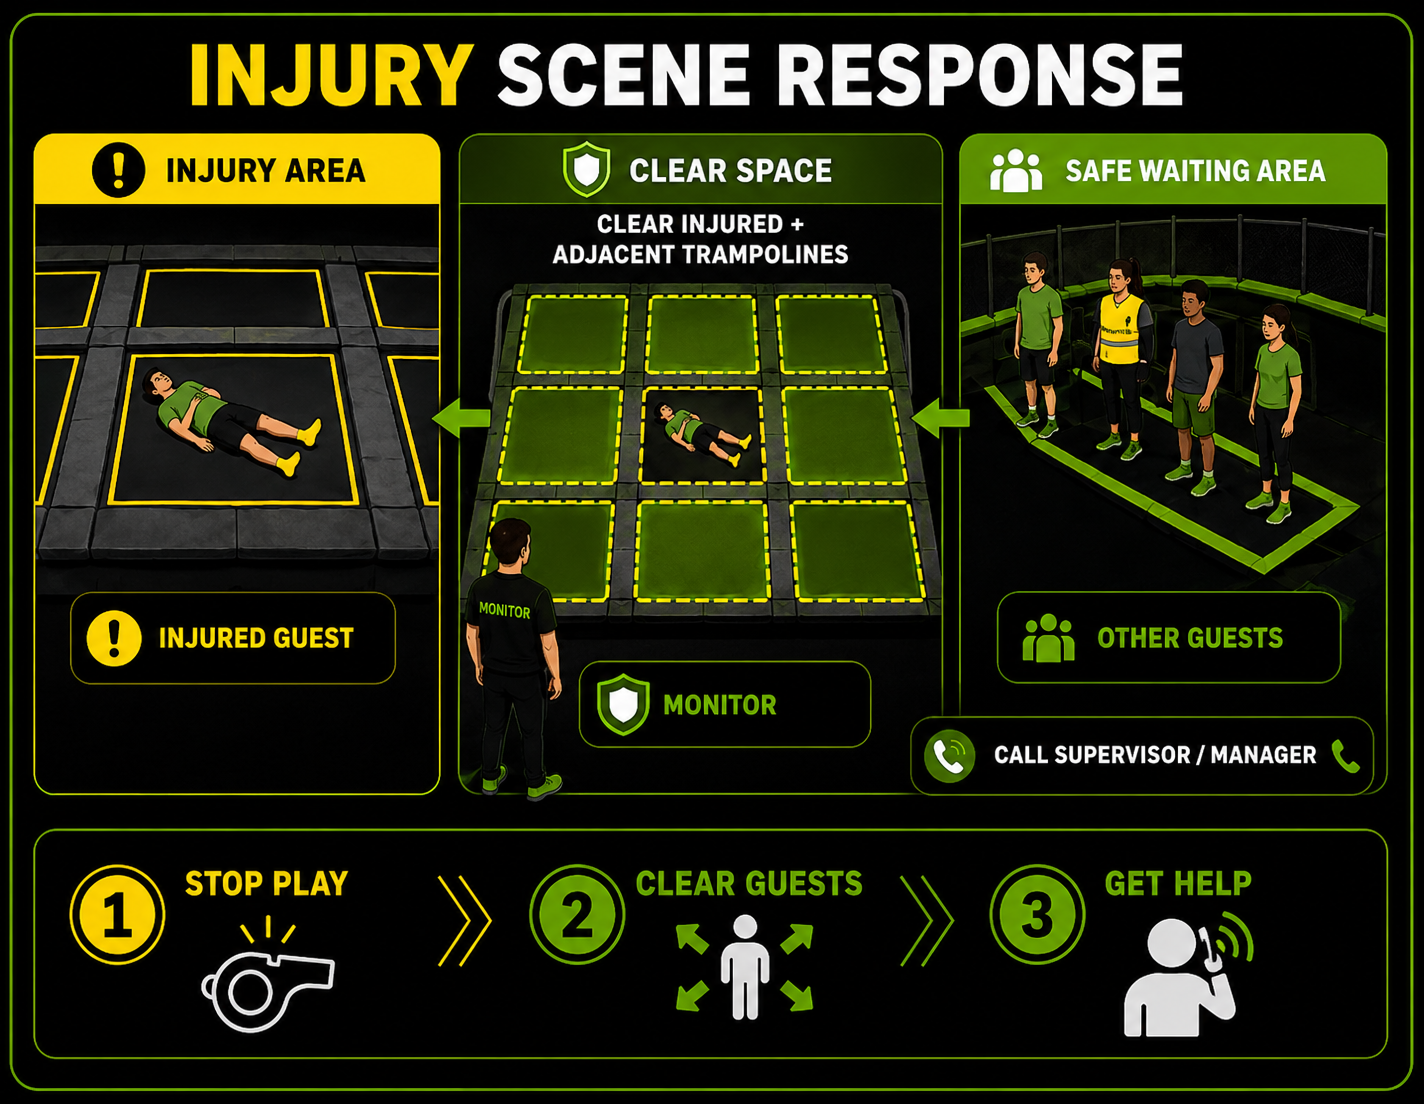
Injury scene response guide showing the injured trampoline and all adjacent trampolines cleared, guests moved to a safe waiting area, and a monitor calling leadership.
Injury Response
Injuries Still Happen
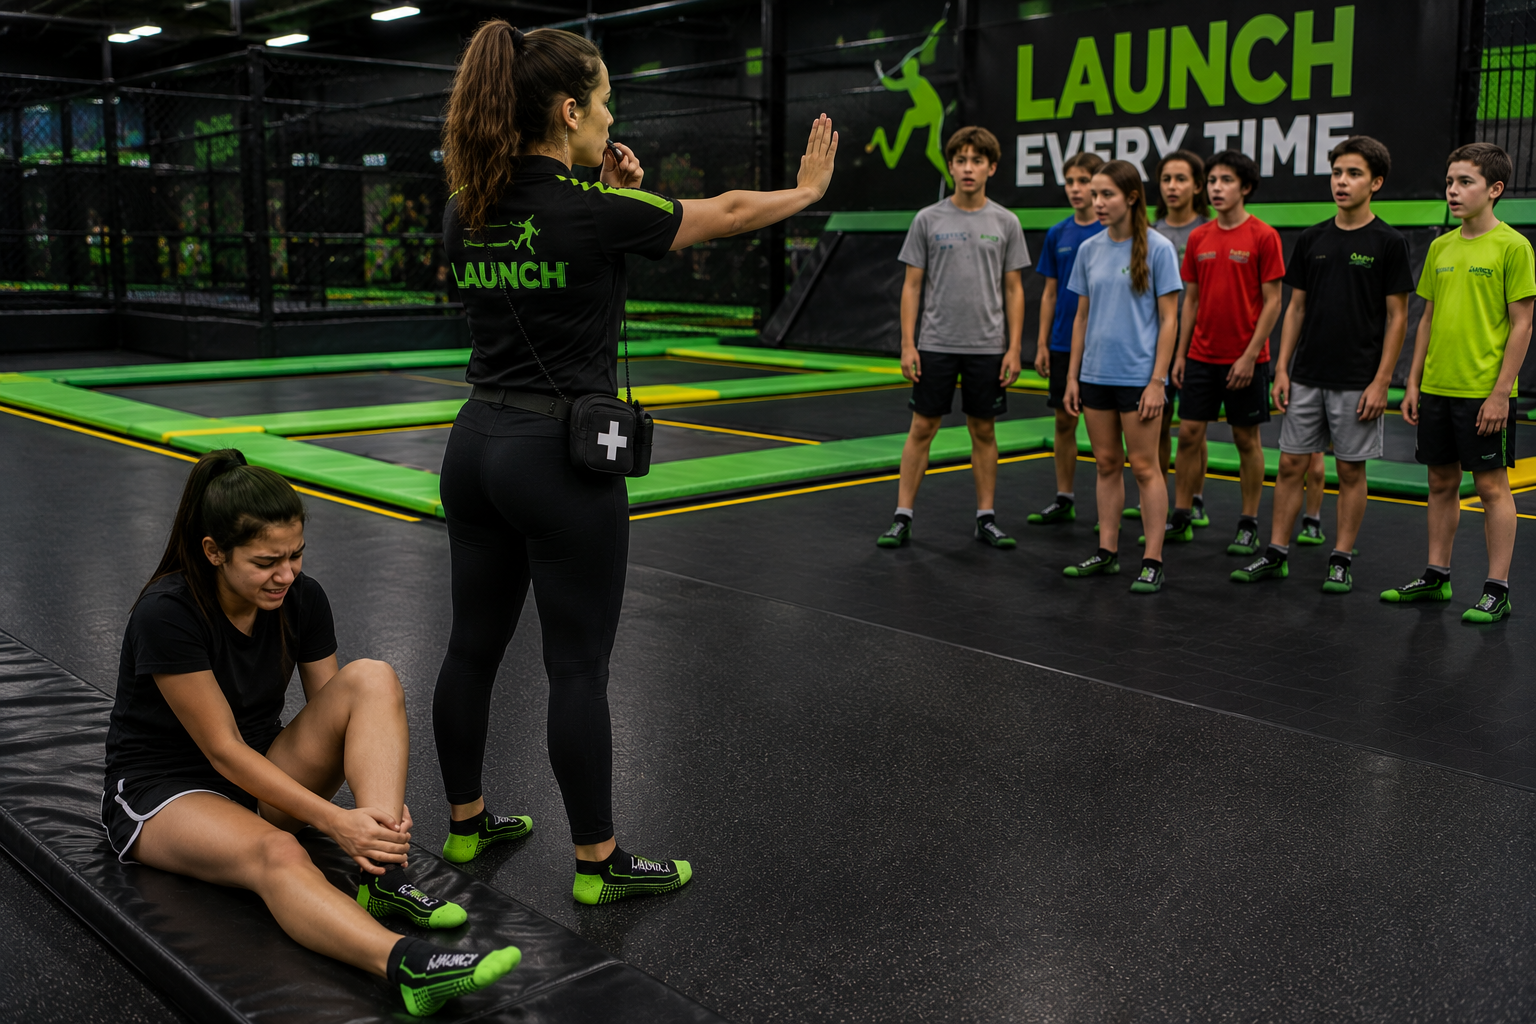
When an injury happens, your first job is scene control.
1. Stop playWhistle. Stop nearby activity.
2. Clear the trampoline areaInjured trampoline + all adjacent trampolines, including diagonals.
3. Move guests backKeep guests in a safe waiting area.
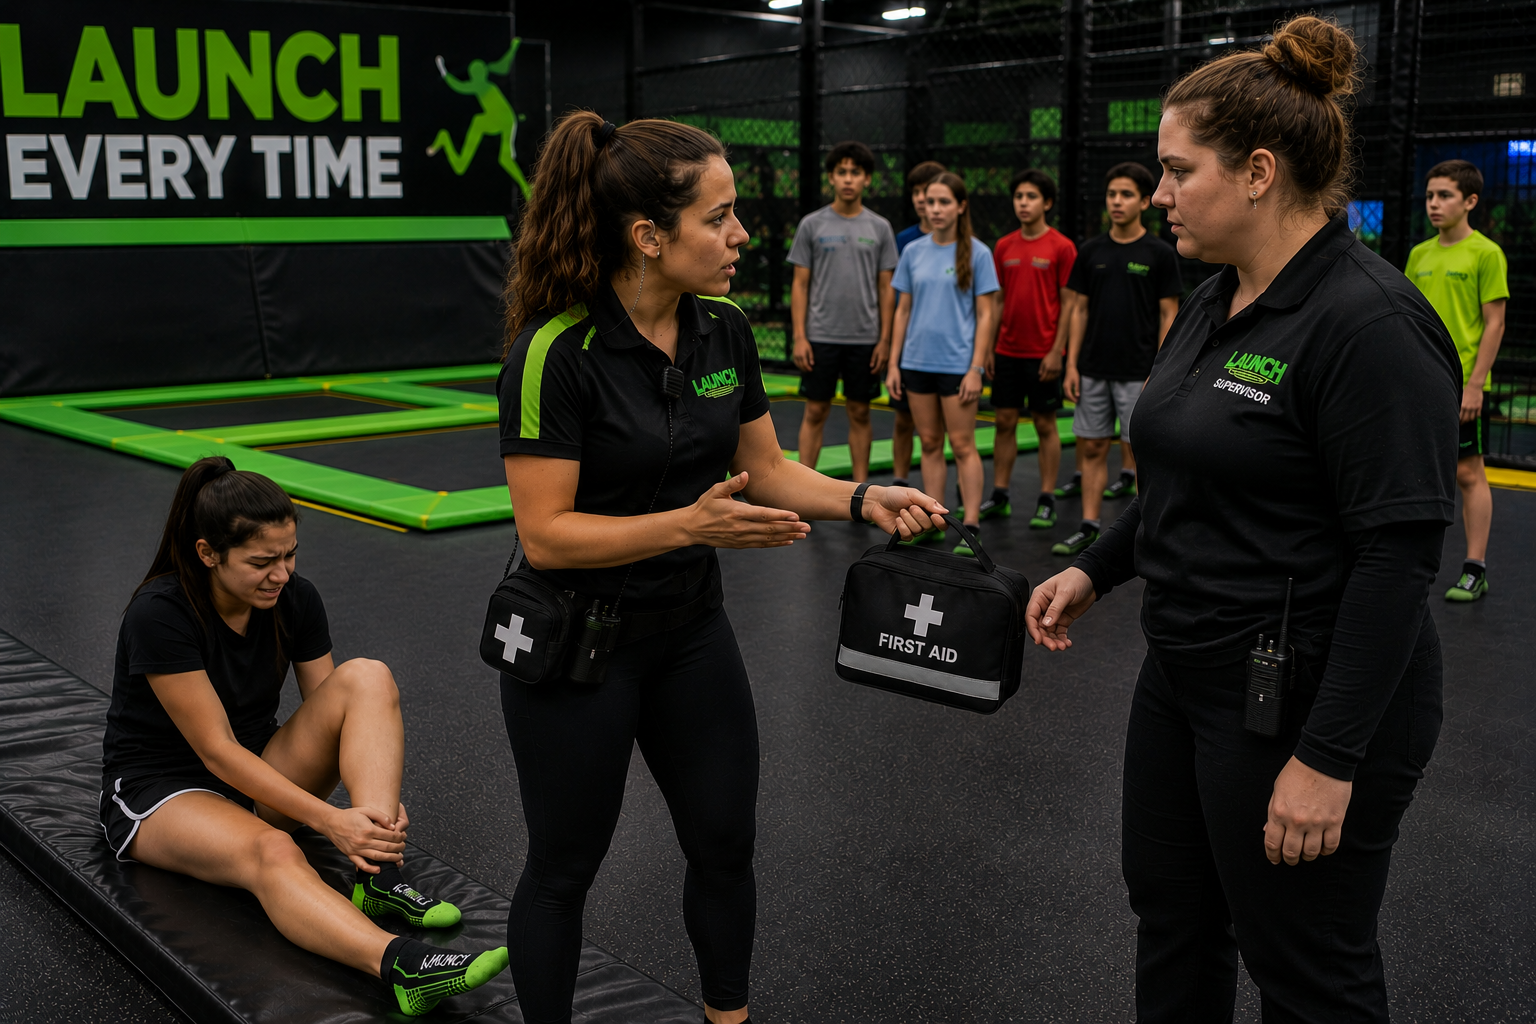
4. Call leadershipGet a Supervisor or Manager immediately.
Key Rule
Do not let one injury become two.
Protect the scene. Get the right help.
Injury Response
Role Boundary
If You Are Not Certified
You are still important in an injury response. Your job is to control the scene, communicate clearly, and support leadership.
Key StandardDo not become the medical responder beyond your training.

Do

  • Stop play near the injured guest.
  • Clear guests back from the area.
  • Call a Supervisor or Manager.
  • Hand off the First Aid bag when leadership arrives.
  • Follow leadership direction.
×

Do Not

  • Diagnose the injury.
  • Move the injured guest unless directed.
  • Provide care you are not trained to give.
  • Leave the attraction uncontrolled.
  • Let guests crowd the area.
You are responsible for control, communication, and support — not medical treatment beyond your training.
Minor Injuries
Minor Injury Response Sequence
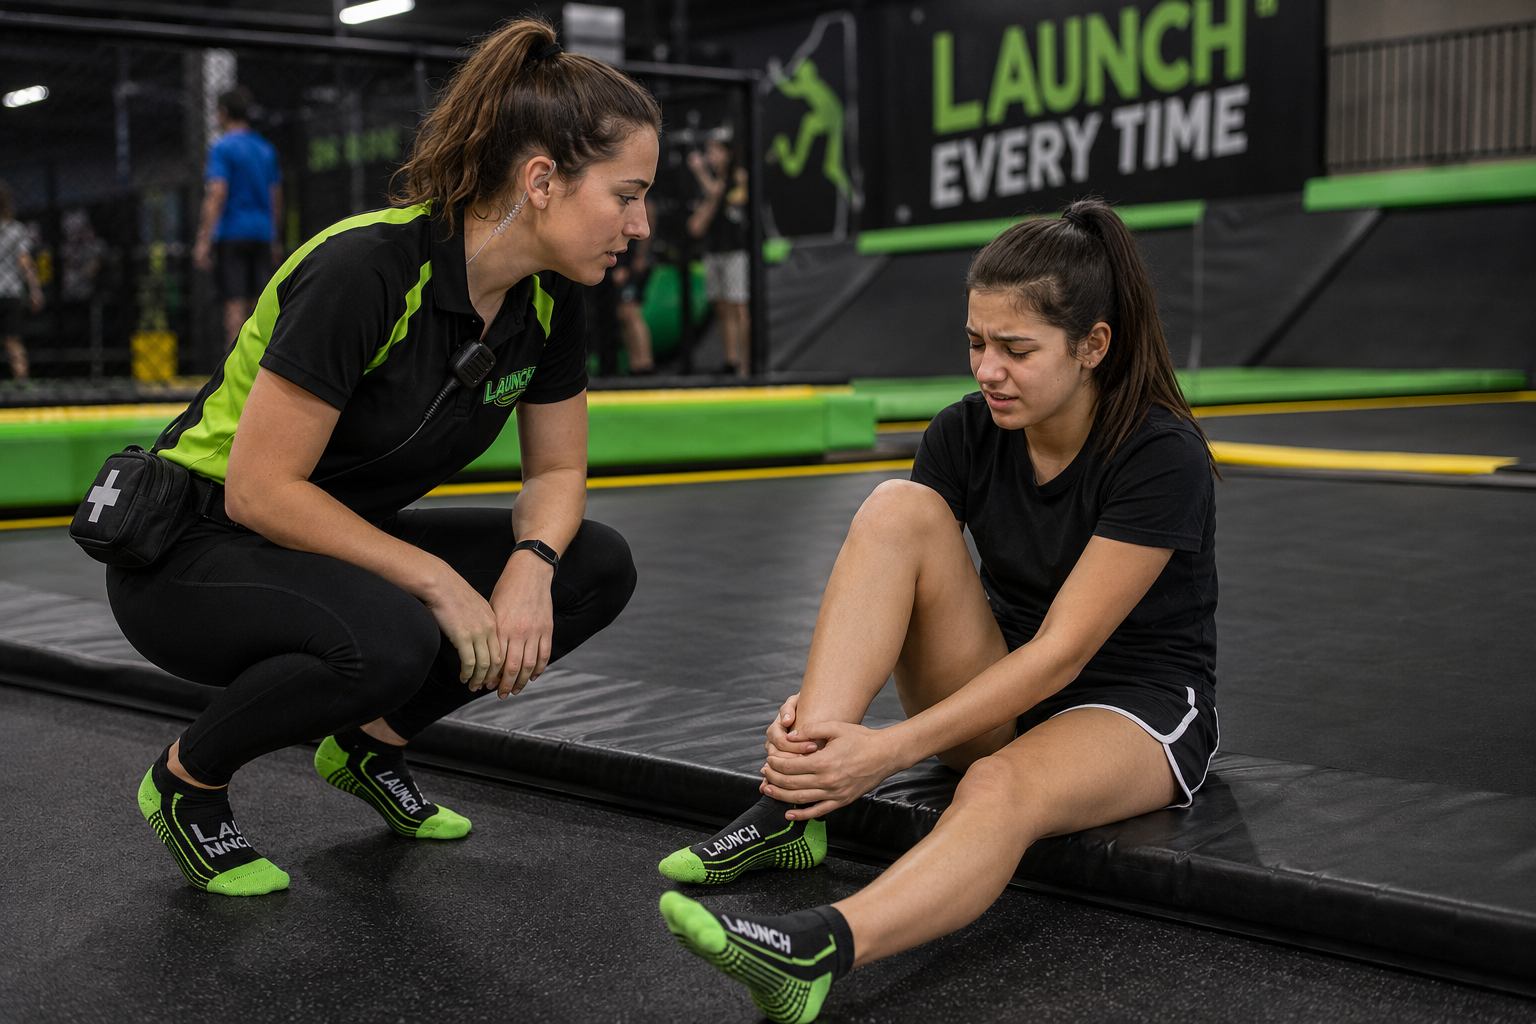
Injury Response
Minor Injury? Follow Procedure
A guest may be alert and talking, but a minor-looking injury still needs the full response process.
Step 1Guest reports painTake it seriously, even if the guest is alert or the injury appears minor.
Step 2Stop nearby playSecure the injured trampoline area and keep guests away.
Step 3Leadership respondsCall a Supervisor or Manager and brief them on what happened.
Step 4Wait for clearanceDo not reopen the area until leadership says it is cleared.
Minor does not mean optional.
Report pain
Stop play
Call leadership
Wait to reopen
Treat every injury seriously: secure the area, call leadership, and wait for clearance.
Serious Injury Response
Code Blue
A Code Blue is used when a guest appears to have a serious injury or medical emergency.
!

Code Blue Signs

Unconscious or not responding
Head, neck, or back concern
Trouble breathing
Heavy bleeding
Seizure or medical emergency
Broken bone or deformity
Severe pain, cannot get up, or cannot move normally
Radio Alert
What to do during a Code Blue
1
Stop PlayStop the attraction or nearby activity immediately.
2
Clear the AreaKeep guests back and protect the injured guest.
3
Call Code BlueGive the exact location and request leadership now.
4
Do Not Move GuestUnless directed by leadership or emergency responders.
5
Follow DirectionLeadership or emergency responders take over the medical response.
Example CallCode Blue at [location]. Supervisor or Manager needed immediately.
If it looks serious, call Code Blue immediately and protect the scene.
Injury Response
Know Your Role
During Injury Response
Your job is to control the scene, communicate clearly, and support leadership while staying inside your training level.
Every Monitor

Your Responsibility

These apply whether the injury appears minor or serious.

ControlStop play, protect the area, and keep guests back.
CommunicateCall leadership, give the location, and report what happened.
SupportHand off the First Aid bag and follow direction.
Handoff Point

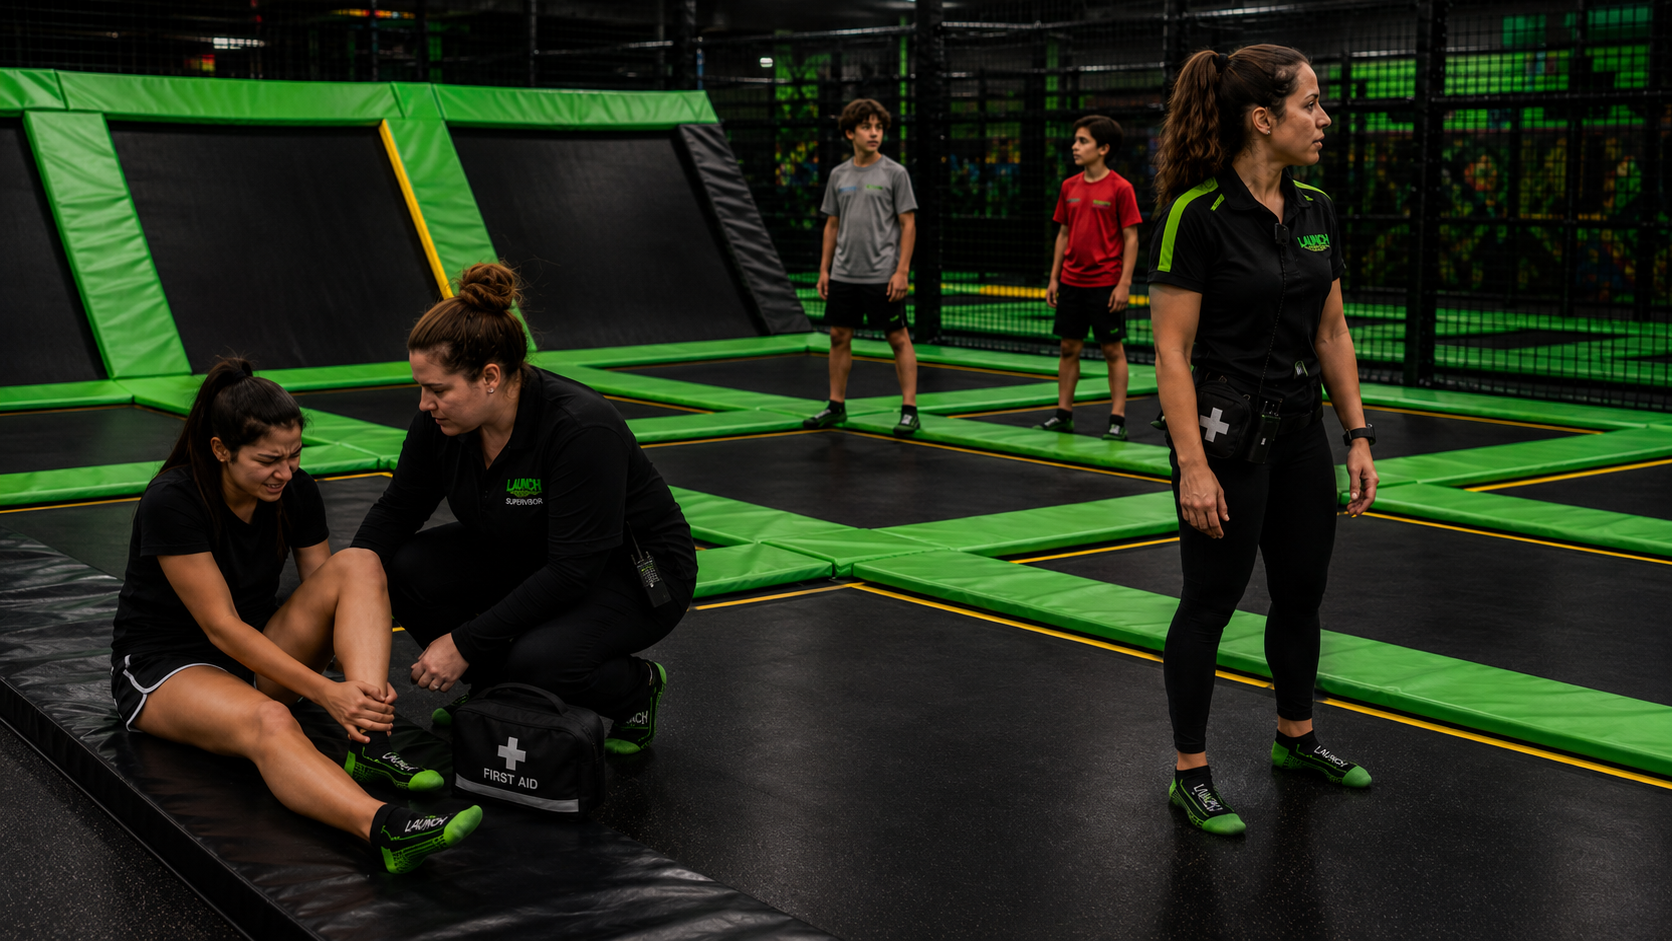
Monitor Lane → Leadership Lane

The monitor secures the scene. Leadership directs the response.

M
MonitorControls scene
L
LeaderDirects care
Hand off the First Aid bag.
Give a quick, clear report.
Continue keeping guests back.
Care Within Training

Certified / Authorized Care

Medical care is only provided by trained and authorized responders.

Stay Within CertificationFirst Aid, CPR, AED, or care only when trained.
Leadership Directs ResponseLeadership decides who responds and what happens next.
Do Not Treat Beyond TrainingDo not diagnose, move, or provide medical treatment.
Protect the scene. Get the right help. Stay within your training.
Injury Response
Bodily Fluids Secure the Area
Stop play. Report it. Wait for clearance.
When This Happens

Treat It as Closed

Any bodily fluid in a guest area must be handled seriously.

!Blood
!Vomit
!Other Bodily Fluids
The area stays closed until cleared.
Monitor Actions

Secure, Report, Wait

Your job is scene control. Leadership directs cleanup and reopening.

1
Stop PlayPause activity near the affected area.
2
Guard the AreaBlock access and keep guests back.
3
Notify LeadershipGive the exact location and what was found.
4
Wait for ClearanceDo not reopen until leadership clears it.
Do Not

Do Not Reopen Early

The area stays closed until leadership says it is safe.

Do not allow guests to continue using the area.
Do not reopen the area on your own.
Do not touch bodily fluids unless directed and protected.
If bodily fluids are present, the area stays closed until leadership clears it.
Next Steps
Put It Into Practice
Injuries are uncommon — prevention works. But preparation matters when something unsafe happens.
Day 2 Response Standard

Use the Same Standard When Something Is Unsafe

This applies to injuries, Code Blue situations, damaged equipment, and bodily fluids.

1
Stop Play
2
Secure Area
3
Call Leadership
4
Support Response
5
Wait for Clearance
ScenarioGuest injury
ScenarioDamaged equipment
ScenarioBodily fluids
Before the Exam

Next Steps

Complete floor training before returning for the Day 2 exam.

1
Return to MenuGo back to the Day 2 menu.
2
Print ChecklistPrint your Day 2 checklist.
3
Floor TrainingHead out with your trainer.
4
Take ExamReturn here after floor training.
Stop play. Secure the area. Call leadership. Support the response and wait for clearance.